


 English
 Español
 عربى


Cleaning a floor scrubber recovery tank is a dirty job with a clean return. The tank is the machine's dirty-water reservoir, and it is also the first place where suction loss, odor, foam, and costly downtime begin. A practical cleaning routine takes 15 to 25 minutes per week, yet it protects the vacuum motor, the float switch, the hose, and the squeegee assembly. This guide shows how to clean a floor scrubber recovery tank in a safe, repeatable sequence, with the checks that matter most in commercial and industrial facilities.
Why the Recovery Tank Deserves More Attention
The recovery tank separates air from dirty water. The vacuum motor pulls air through the tank, while the float switch rises when the tank is full and shuts off suction. If sludge, biofilm, or foam covers the float, the switch can stick open or closed. If debris blocks the inlet screen, airflow drops. If dirty water sits for days, odor becomes a complaint and the tank becomes a biofilm reactor.
The cost is not only cleaning time. A restricted tank can force the operator to dump and refill more often, reduce productive cleaning time, and stress the vacuum motor. In a 12,000 square meter distribution center, a 70 liter tank may collect 2 to 4 kilograms of sludge per shift. That material settles in corners, around the float, and under the lid gasket. If it dries, it can take twice as long to remove.
A recovery tank that looks empty can still be dirty. The hidden film on the walls, lid, and float is the part that causes odors and suction faults.
A broader floor scrubber maintenance plan should treat the recovery tank as a weekly checkpoint, not a year-end task.
What You Need Before You Start
Gather tools before opening the tank. Wear nitrile gloves, eye protection, and an apron. Work in a ventilated area and keep the area around the drain clear. You will need a drain hose, a low pressure hose, a soft brush, a non-abrasive pad, a wet vacuum, pH test strips, an approved sanitizer, a lint-free cloth, a flashlight, and a bucket for solids.
- Disconnect power and remove the key or battery connector.
- Park on level ground and lower the squeegee.
- Read chemical labels and safety data sheets.
- Confirm local rules for wastewater discharge.
- Keep food, drink, and open wounds away from the work area.
Machine design matters. A tank with a large lid opening, a removable debris screen, and a drain hose at the lowest point is easier to clean and less likely to trap sludge. If you are specifying equipment, compare walk-behind and ride-on options in the floor scrubber range and look for service access, not only tank volume.
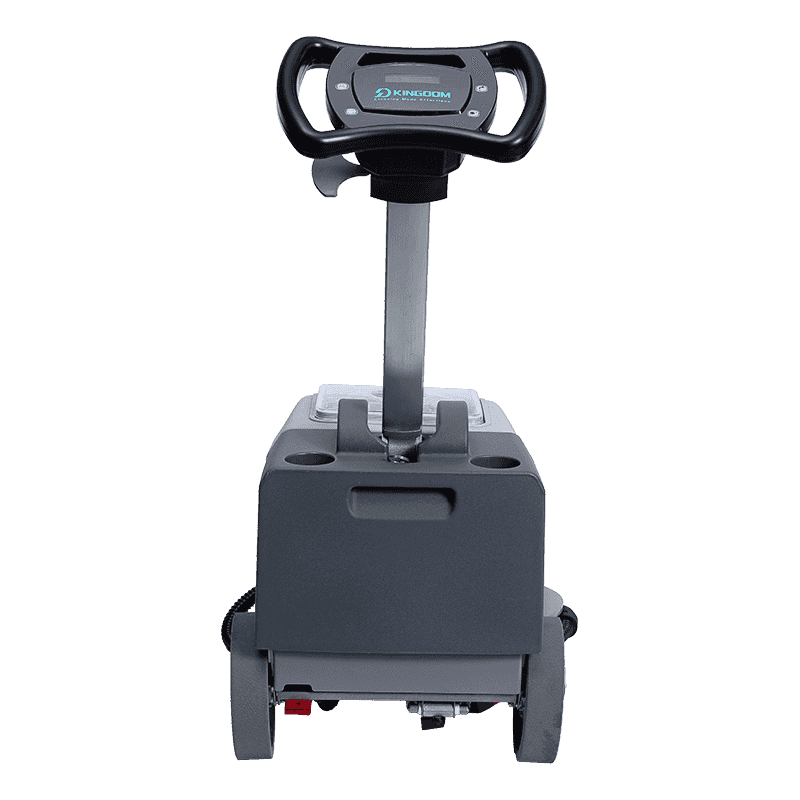 JD35 Commercial Mini Walk-Behind Folding Floor ScrubberCompact 15 L/18 L walk-behind scrubber with aluminum die-cast body, 180-degree rotating brush head, and separated tank for small commercial spaces.View Product →
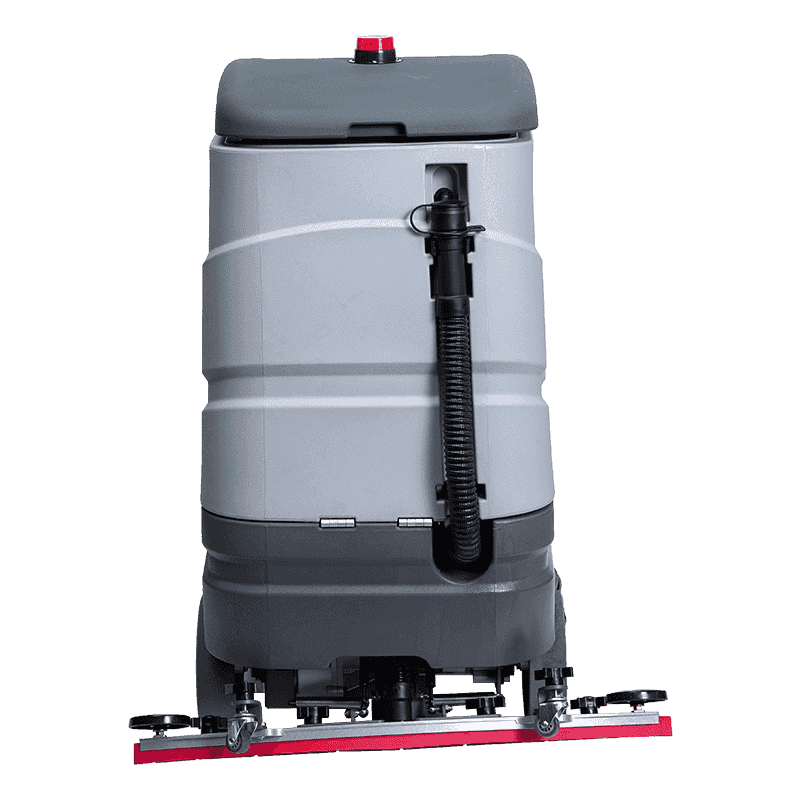 JD75 Ride-On Industrial Automatic Floor ScrubberRide-on industrial scrubber with 75 L/88 L tanks, variable speed, and high cleaning efficiency for large commercial and industrial floors.View Product →
How to Clean a Floor Scrubber Recovery Tank Step by Step
Step 1: Drain and Disconnect
Park on level ground, switch off, remove the key, and disconnect the battery. Lower the squeegee. Place the drain hose over a floor drain or an approved container. Open the cap slowly and watch for a surge of water. Drain completely. If sludge is thick, tilt the tank carefully or use a wet vacuum. Do not let wastewater enter a storm drain.
Step 2: Remove Debris and Rinse
Open the lid. Remove the debris screen, float guard, and any removable basket. Empty solids into a waste container. Rinse the tank with low pressure water. Use a soft brush to lift sludge from corners. Avoid high pressure near the float, sensors, labels, and motor. Use a wet vacuum for the remaining water.
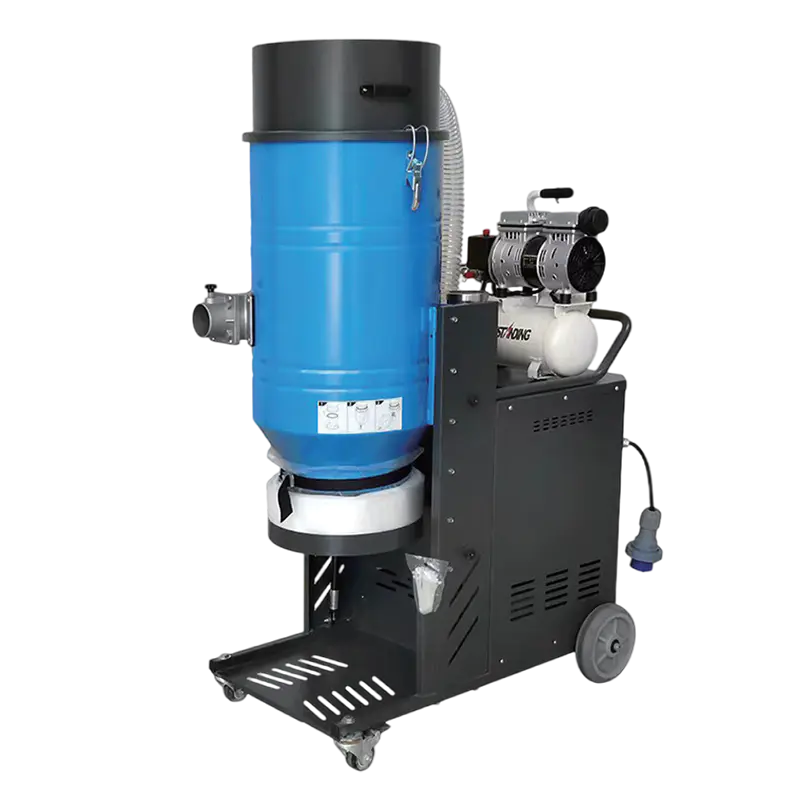 W Series Three-Phase Turbine Pulse Back-Blowing Industrial Vacuum CleanerContinuous-duty W Series vacuum offers pulse back-blowing and 0.3 μm filtration for dust-heavy operations needing ongoing collection.View Product →
Step 3: Deep Clean the Tank and Lid
Apply neutral detergent at the label dilution. Use water at 40 to 50 Celsius. Let it dwell for 5 to 10 minutes. Scrub walls, floor, lid, and gasket with a non-abrasive pad. Pay attention to seams and corners. Rinse until the water runs clear. Do not use abrasive pads or sharp tools.
Step 4: Clean the Float and Sensor Area
The float is the most overlooked part. Use a flashlight. Check that the float moves freely. Remove film with a soft brush and mild detergent. Rinse gently. Do not pry or bend the float. If it is damaged, replace it. Test by lifting the float or filling the tank with clean water to confirm shutoff.
Step 5: Flush the Recovery Hose and Squeegee
Remove the recovery hose if accessible. Backflush with low pressure water. Inspect for biofilm, mineral scale, and collapsed sections. Clean the squeegee blades and check for nicks. A clogged hose can mimic a full tank. Reinstall with clamps tight.
Step 6: Sanitize and Dry
Apply an approved sanitizer to the tank walls, lid, and float area. Follow the contact time on the label. Do not mix sanitizer with detergent unless the label allows it. Drain and dry with the lid open. A dry tank discourages biofilm. Wipe the gasket dry and apply a thin film of silicone grease if recommended.
Step 7: Reassemble and Test
Reinstall the screen, float guard, hose, and lid. Close the drain cap. Fill with clean water. Run the machine for 30 seconds. Check suction, float shutoff, and leaks. Record the clean. If suction is weak, check the hose, squeegee, and tank seal before assuming motor failure.
Cleaning Frequency and Water Chemistry
Frequency depends on soil load, water hardness, and cleaning chemicals. Use the table as a baseline. In food areas, clean and sanitize daily. In warehouses, deep clean weekly. In healthcare, follow infection control policy.
| Environment | Tank check | Deep clean | Water temperature | Detergent note |
|---|---|---|---|---|
| Office and retail | Each shift | Weekly | 40 to 50 Celsius | Neutral |
| Warehouse | Each shift | Weekly | 40 to 50 Celsius | Neutral or degreaser |
| Food and beverage | Each shift | Daily | 45 to 55 Celsius | Food-area approved |
| Healthcare | Each shift | Daily or per policy | 45 to 55 Celsius | Approved disinfectant |
| Metalworking | Each shift | 2 to 3 times weekly | 40 to 50 Celsius | Degreaser, rinse well |
Do not judge cleanliness by smell alone. Use a flashlight and a white cloth. If the cloth picks up gray film after rinsing, clean again. Test pH if using alkaline or acid cleaners. Rinse until pH is close to neutral before sanitizing.
Common Mistakes That Damage Recovery Tanks
- Using high pressure water around the float switch and sensors.
- Letting sludge dry in the tank or hose.
- Mixing chemicals that are not compatible.
- Ignoring the lid gasket and its hidden film.
- Draining wastewater to a storm drain.
- Reassembling the machine while the tank is still wet.
- Using abrasive pads or sharp tools on plastic surfaces.
- Storing detergent or sanitizer in the tank between shifts.
Most damage is cumulative. A small amount of grit left in the tank can scratch plastic, trap odor, and reduce the life of the gasket. A quick rinse after every shift prevents most of it.
Troubleshooting Recovery Tank Problems
| Symptom | Likely cause | Corrective action |
|---|---|---|
| Weak suction | Clogged screen, hose, or full tank | Drain, clean screen, flush hose |
| Foul odor | Biofilm on walls or gasket | Deep clean, sanitize, dry with lid open |
| Float shuts off early | Film or debris on float | Clean float, test movement |
| Water leaks | Loose drain cap or damaged gasket | Tighten cap, replace gasket |
| Foam in tank | Wrong detergent or too much | Use low foam product, reduce dose |
If foam enters the vacuum motor, stop use and let the machine dry. Foam can cause electrical faults and motor damage.
Winterizing and Long-Term Storage
Freezing water can crack tanks, hoses, and pumps. In cold climates, drain the tank, hoses, and solution lines after every use. Store the machine above 4 Celsius. Leave the lid open and the drain cap off for air circulation. Do not leave sanitizer or detergent in the tank.
- Drain and rinse the recovery tank.
- Flush the hose and squeegee assembly.
- Dry all surfaces with a lint-free cloth.
- Lubricate the gasket only with an approved product.
- Cover the machine and record the storage date.
Building a Simple Maintenance Record
A one-page log improves accountability. Record the date, operator, tank condition, float test, hose flush, sanitizer, and notes. Use a tag on the machine to show the last deep clean. If three consecutive logs show heavy sludge, review pre-sweep, detergent dose, and squeegee adjustment.
- Date and shift.
- Tank and gasket condition.
- Float movement and shutoff test.
- Hose and screen flush.
- Sanitizer name and contact time.
- Follow-up action.
Frequently Asked Questions
Q1: How often should I clean the recovery tank?
Check after each shift, drain and rinse daily, and deep clean weekly. Food, healthcare, and heavy industrial use may require daily deep cleaning.
Q2: Can I use bleach in the recovery tank?
Avoid bleach unless the machine maker and chemical label approve it. Bleach can damage gaskets and metal. Never mix bleach with acid cleaners.
Q3: Why does my scrubber smell after cleaning?
Odor usually comes from biofilm in the hose, gasket, or float area. Clean these parts, sanitize with the correct contact time, and dry with the lid open.
Q4: How do I remove dried sludge?
Soak with warm water and neutral detergent for 10 to 15 minutes, then use a soft brush. Avoid sharp tools and high pressure near the float.
Q5: What if the float switch is stuck?
Stop use. Remove film with a soft brush. Do not bend the float. If it is damaged, replace it and test with clean water.
Q6: Can I dump tank water into a floor drain?
Follow local rules. Wastewater may contain oil, metal, or food waste. Use an approved discharge point or treatment system.
